
 TechyTron
TechyTron Brightness Lab STEM Kit
Control how brightly an LED shines. Classes 3–4 · Ages 8–10 · 30–40 minutes. Coming soon.
Delivery options
Courier from ₹79.00 per order · Free above ₹999.00
Product description
For Classes 3–4, ages 8–10, with adult guidance. No coding or soldering.
Engagement: 30–40 minutes. Explore 5 min · Build 10 min · Compare and discuss 15–25 min.
Included components
- 4 CELL AA BATTERY HOLDER WITH SWITCH / COVER — 1 holder
- AA BATTERY — 4 batteries (1.5 V alkaline AA cells.)
- Regulated 5 V Power Supply with Short-Circuit Protection — 1 power supply (Supplied in a screw-closed enclosure with fitted leads.)
- Small Breadboard / Mini Solderless Board - 400 points — 1 breadboard
- Jumper Wire Combo - Male to Male, Male to Female and Female to Female Breadboard Connecting Wires (10 Qty Each) — 1 set (Colour-coded leads supplied with fitted connectors.)
- Illustrated Activity Guide and Observation Sheet — 1 set
- 5mm LED - Red Color — 1 LED
- 220 Ω 1/4 Watts (10 PCS) — 1 resistor (Quantity is individual resistors supplied in this kit; the catalogue product is a 10-piece pack.)
- 470 Ω 1/4 Watts (10 PCS) — 1 resistor (Quantity is individual resistors supplied in this kit; the catalogue product is a 10-piece pack.)
- 1K Ω 1/4 Watts (10 PCS) — 1 resistor (Quantity is individual resistors supplied in this kit; the catalogue product is a 10-piece pack.)
- 2-Pin SPST ON-OFF Mini Rocker Switch - 2A 250V — 1 switch (Used only with the supplied low-voltage DC power supply.)
- LED Brightness Comparison Shade — 1 piece
Steps to make it
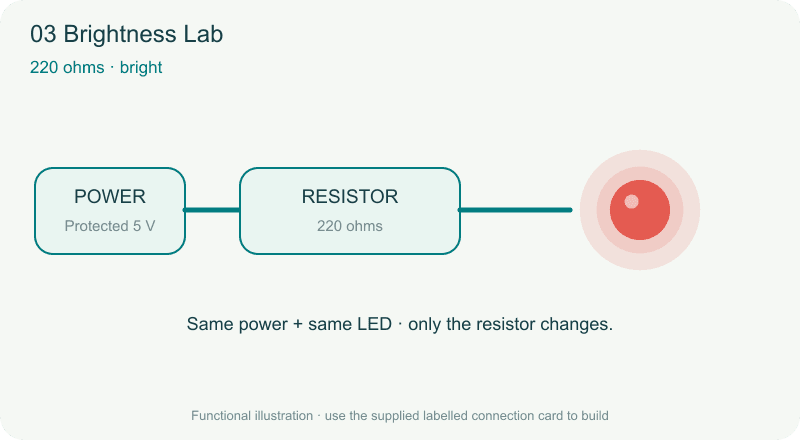
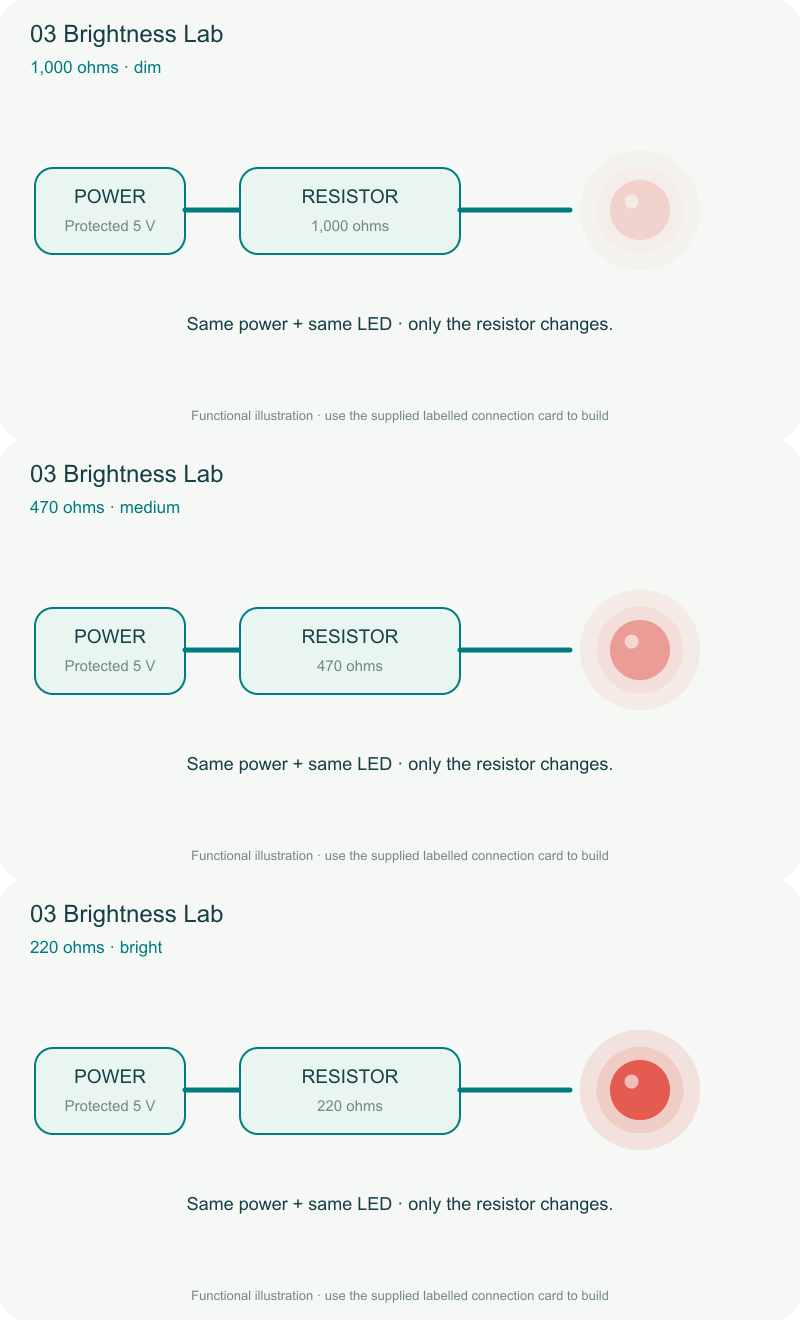
- Turn the supply off. Connect power + → switch → 1 kΩ resistor → LED +, then LED − → power −.
- Turn on and observe the LED under the comparison shade.
- Switch off and replace only the resistor with 470 Ω. Turn on and observe again.
- Repeat with 220 Ω. Never replace the resistor with a plain wire.
- Rank the three settings from dimmest to brightest.
What children learn
- A resistor limits current through the LED.
- For the same LED and supply, larger series resistance usually gives less brightness.
- Changing one variable makes comparisons clearer.
Test challenge
How does resistor value affect the brightness of the same LED at the same supply voltage?
Observation task
Rank each setting using a simple 1–3 brightness scale; this is a visual comparison, not a current measurement.
Expected result
The 1 kΩ setting should be dimmest and 220 Ω brightest, with 470 Ω between them.
Troubleshooting
Keep viewing conditions consistent. The difference may be harder to see in strong daylight.
Try next
Repeat the ranking in a second trial without looking at the resistor labels.
Use and supervision
Use only the supplied low-voltage power unit. Switch power off before changing connections. Keep metal objects across the test gap only, never across the battery terminals. Keep liquids away. Adults handle battery access and inspect parts. Kit 8 uses an enclosed motor indicator, not an exposed propeller. Use the buzzer at a comfortable level away from ears.
See how it works
Download the illustrated activity guide
Coming soon. Timing is estimated for guided first use. Illustrations show the learning principle; supplied assemblies are subject to final validation.
Customer feedback
Reviews
No published reviews yet. Be the first to share useful feedback.
Shop Related in this category
Related in this category
9 catalogue productsTechyTron TechyTron
 Buzz Button STEM Kit
 TechyTron
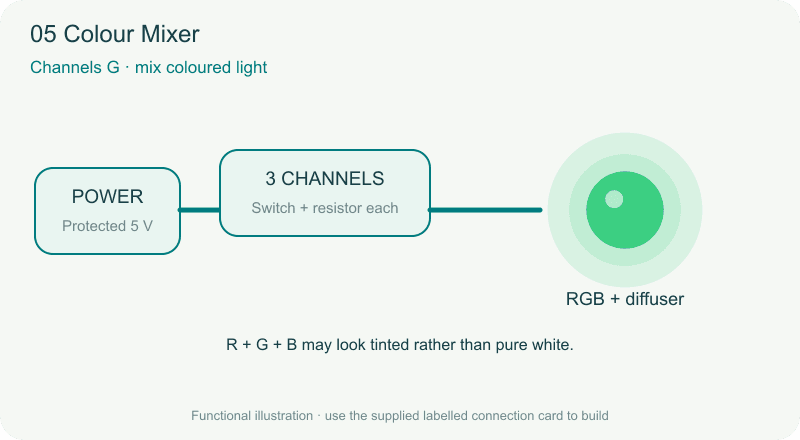
 Colour Mixer STEM Kit
 TechyTron
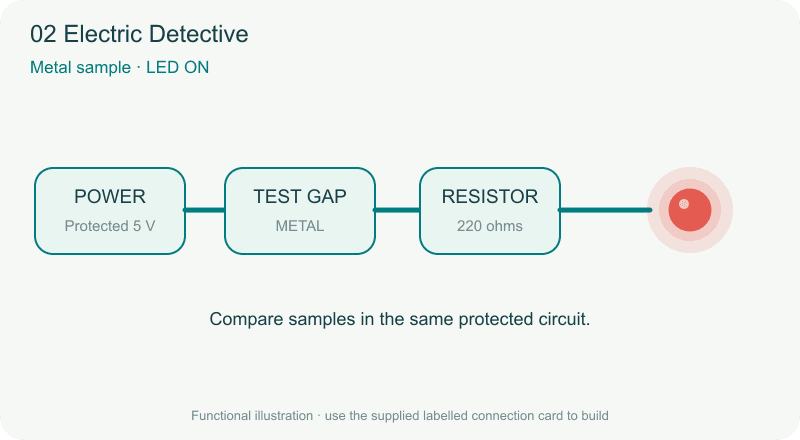
 Electric Detective STEM Kit
 TechyTron
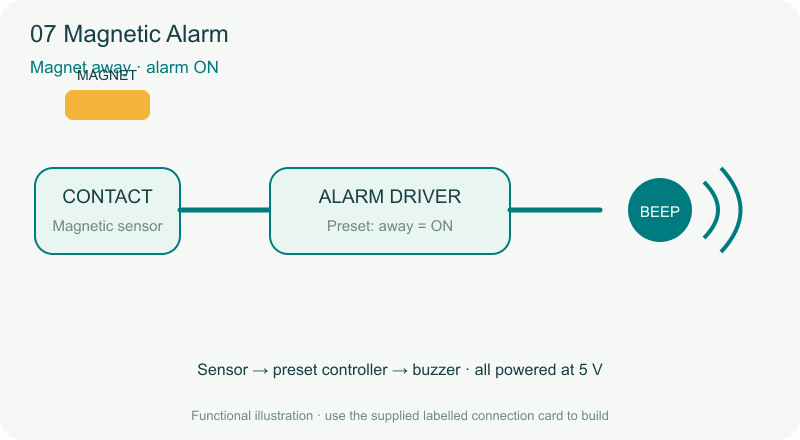
 Magnetic Alarm STEM Kit
 TechyTron
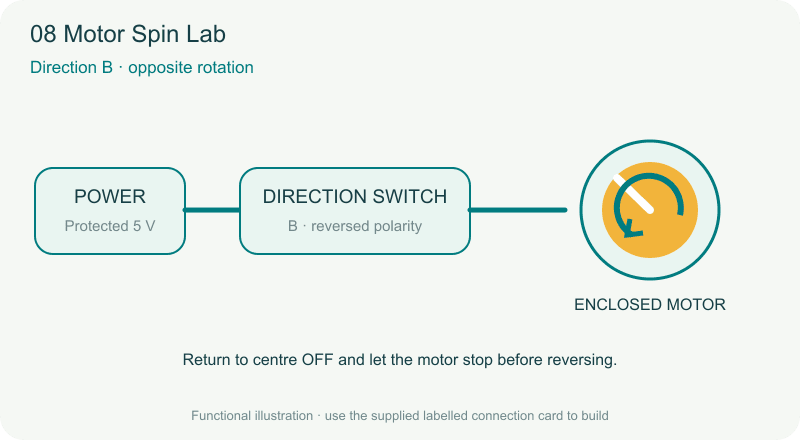
 Motor Spin Lab STEM Kit
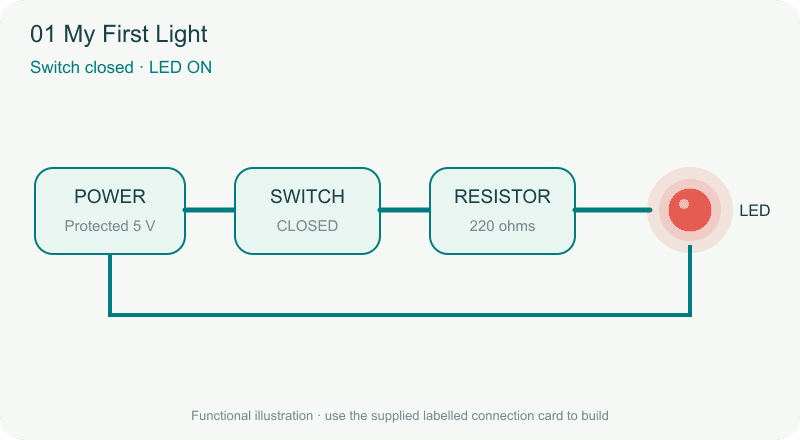 TechyTron
 My First Light STEM Kit
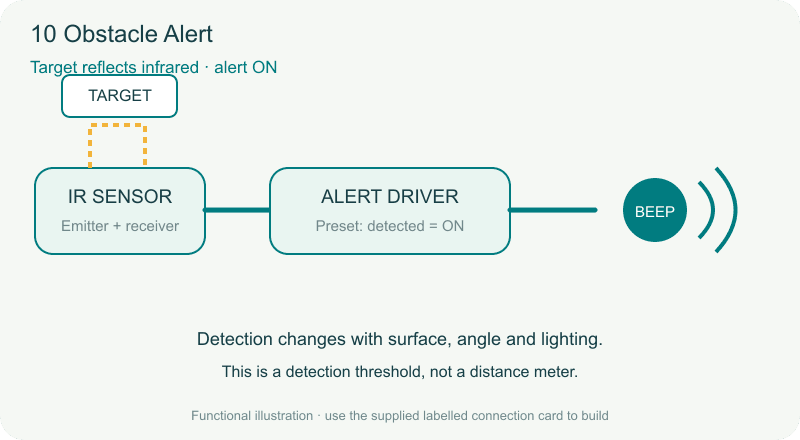 TechyTron
 Obstacle Alert STEM Kit
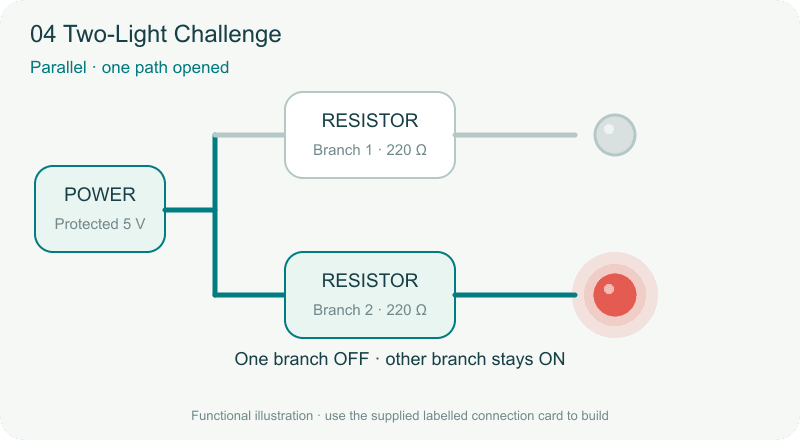 TechyTron
 Two-Light Challenge STEM Kit
Shop Related by product name