
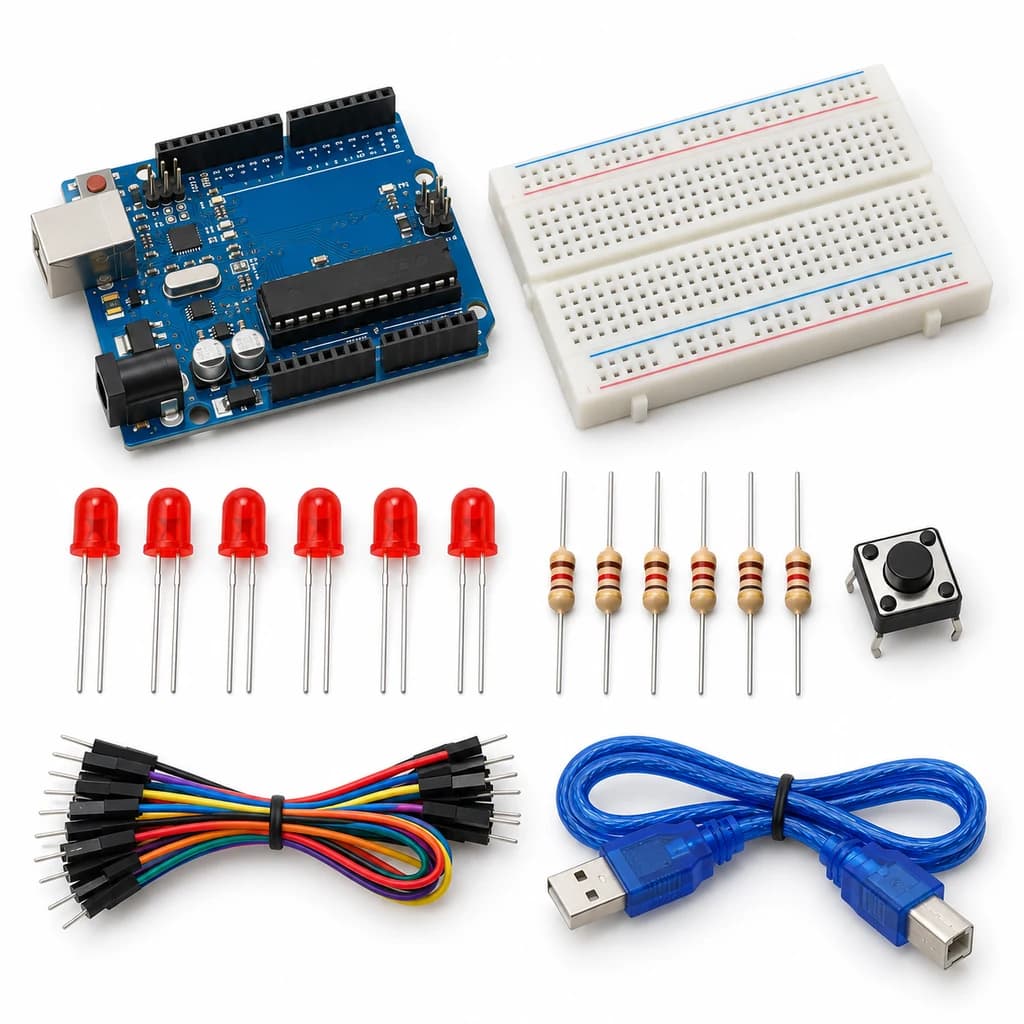
 TechyTron
Rainbow PWM Mixer Kit
SKU: TT-SE-07-06
₹437.50
Includes 18% GST
Earn 4 reward points per unit. How rewards work
Mix colours by programming three PWM channels. Classes 7-8 · Ages 12–14. Complete electronics kit with an illustrated guide.
Delivery options
Courier from ₹79.00 per order · Free above ₹999.00
Product description
Classes 7-8, typical ages 12–14. Age ranges vary by learner. Guided low-voltage electronics.
Activity engagement
60–90 minutes. Explore 10–15 min · Build 20–30 min · Test and discuss 30–45 min. Estimated time for building, testing and discussion.
What you need
A computer with a USB port and Arduino IDE is required and is not included.
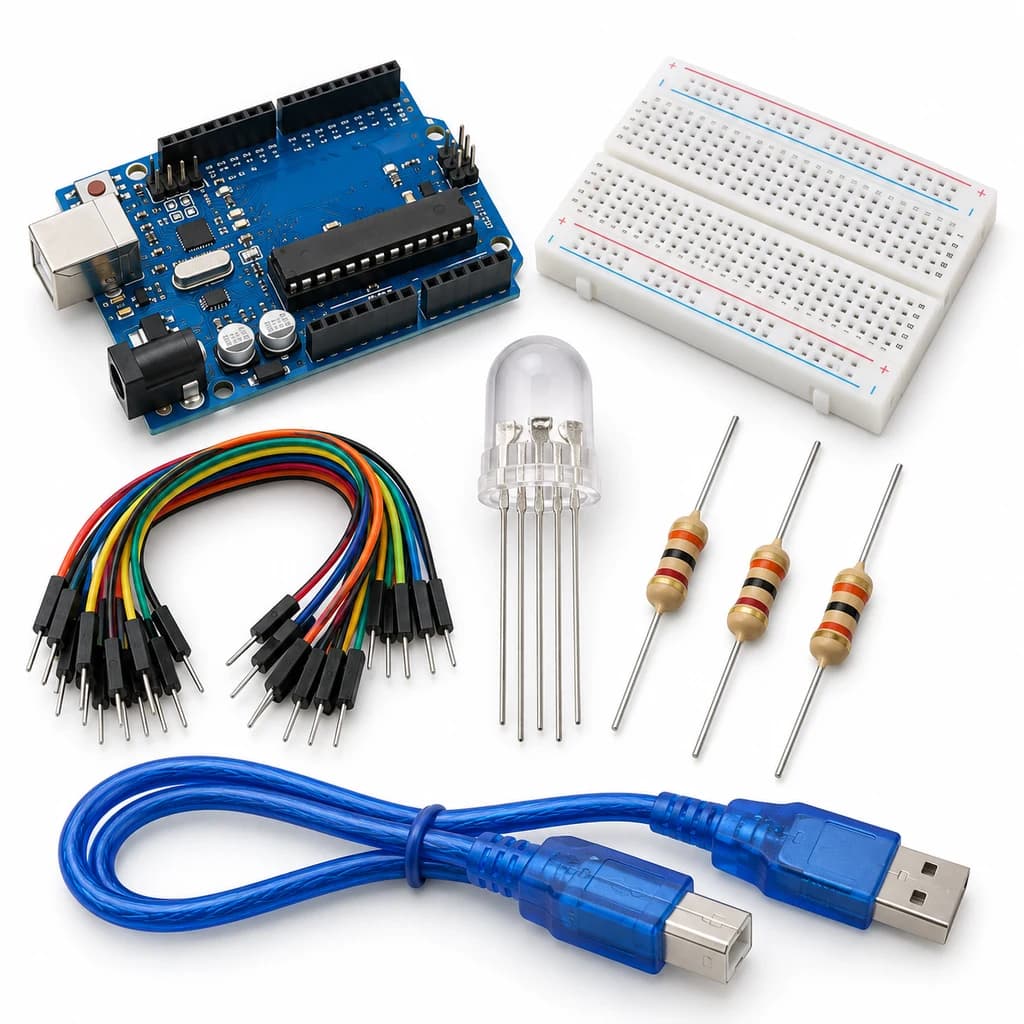
Included components
- Small Breadboard / Mini Solderless Board - 400 points — 1 breadboard
- Jumper Wire Combo - Male to Male, Male to Female and Female to Female Breadboard Connecting Wires (10 Qty Each) — 1 set
- Illustrated Activity Guide and Observation Sheets — 1 set
- Fitted Headers and Labelled Connection Leads — 1 set
- Arduino Uno R3 CH340G version compatible Arduino Development Board — 1 controller board
- USB A to B Programming Cable for Arduino Uno/ Arduino Mega — 1 data cable
- RGB LED - 5mm - Common Cathode — 1 LED
- 330 Ω 1/4 Watts (10 PCS) — 3 resistor (individual units)
What you learn
- PWM changes average LED brightness.
- A common-cathode RGB LED has three colour channels.
- Each colour channel needs a separate resistor.
Connection guide
- Common cathode → GND. Red anode → D9 through 330 Ohm; green → D10 through 330 Ohm; blue → D11 through 330 Ohm.
- Use the supplied LED pinout labels, not lead length alone.
Steps to make it
- Disconnect all power and identify the supplied part labels and pinouts before wiring.
- Wire all three resistor-limited channels.
- Upload the sketch and identify the first three single-colour stages.
- Record how red+green, green+blue and red+blue appear.
- Change one duty value from 255 to 80 and compare the mixture.
- Change only the named parameter for the extension, repeat the controlled trials, save observations and disconnect power afterward.
Programming resources
Arduino IDE: select Arduino Uno and the USB port. Use the supplied USB data cable. Serial Monitor/Plotter: 115200 baud.
Uses the selected board core libraries.
Test challenge
Predict six colour stages before running them; observe whether equal numeric values look equally bright.
Observation task
Red/green/blue duty values and perceived mixed colour.
Expected result
Three independent PWM outputs create distinct primary and mixed colours.
If it does not work
A common-anode LED uses different wiring and inverted values; use the supplied common-cathode part.
Try next
Add smooth fades between the colour stages.
Use and supervision
Use only the supplied low-voltage DC parts. Disconnect power before rewiring; check polarity and labelled pinouts. No soldering or exposed mains connections. Adult guidance is recommended.
How this experiment works
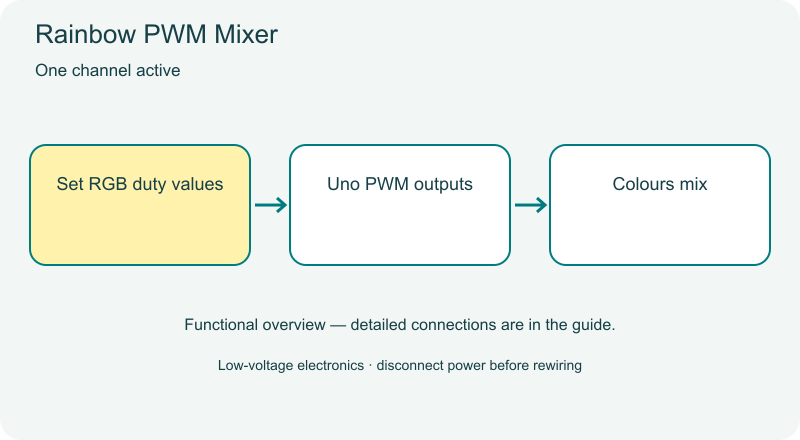
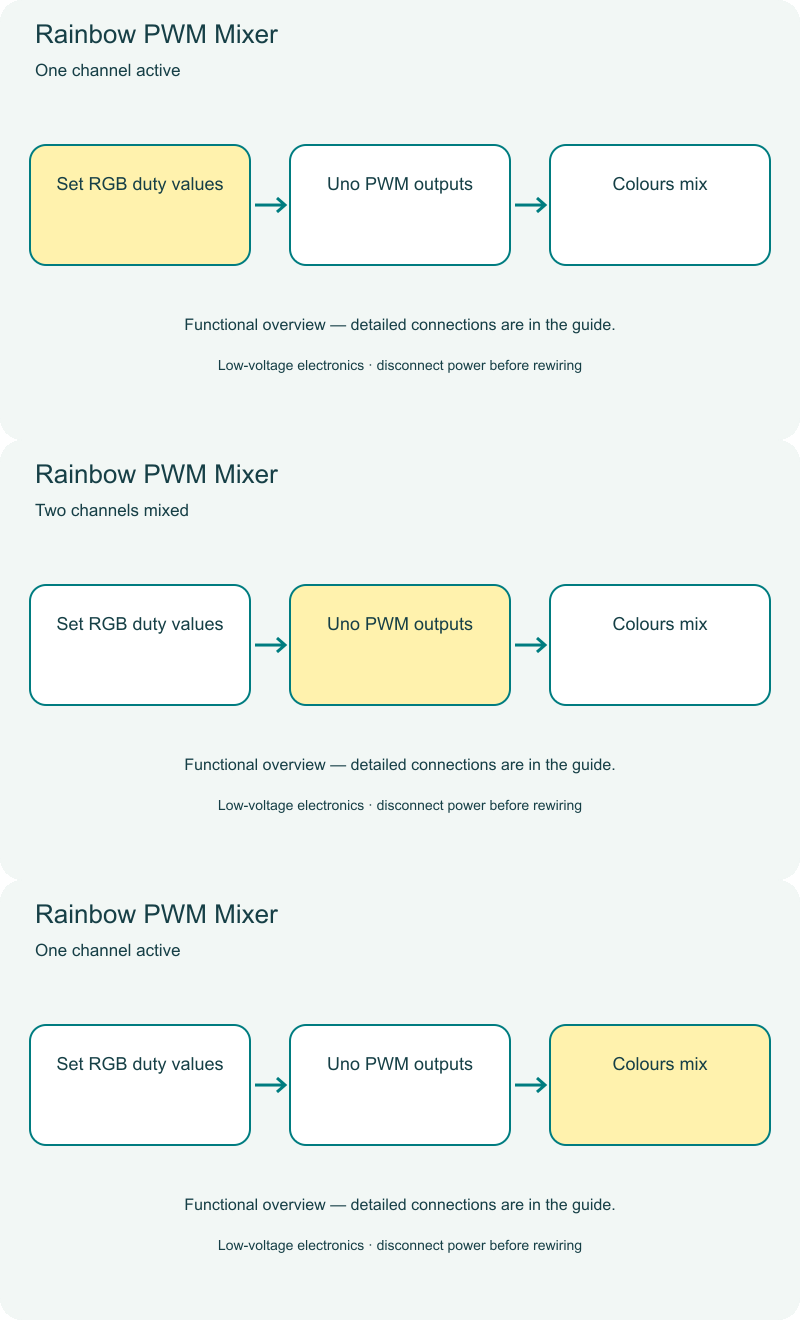
Cover illustrations show component types. Functional animations explain principles and are not recorded prototype tests. Follow the supplied connection labels and pinouts.
Customer feedback
Reviews
No published reviews yet. Be the first to share useful feedback.
Shop Related in this category
Related in this category
9 catalogue productsTechyTron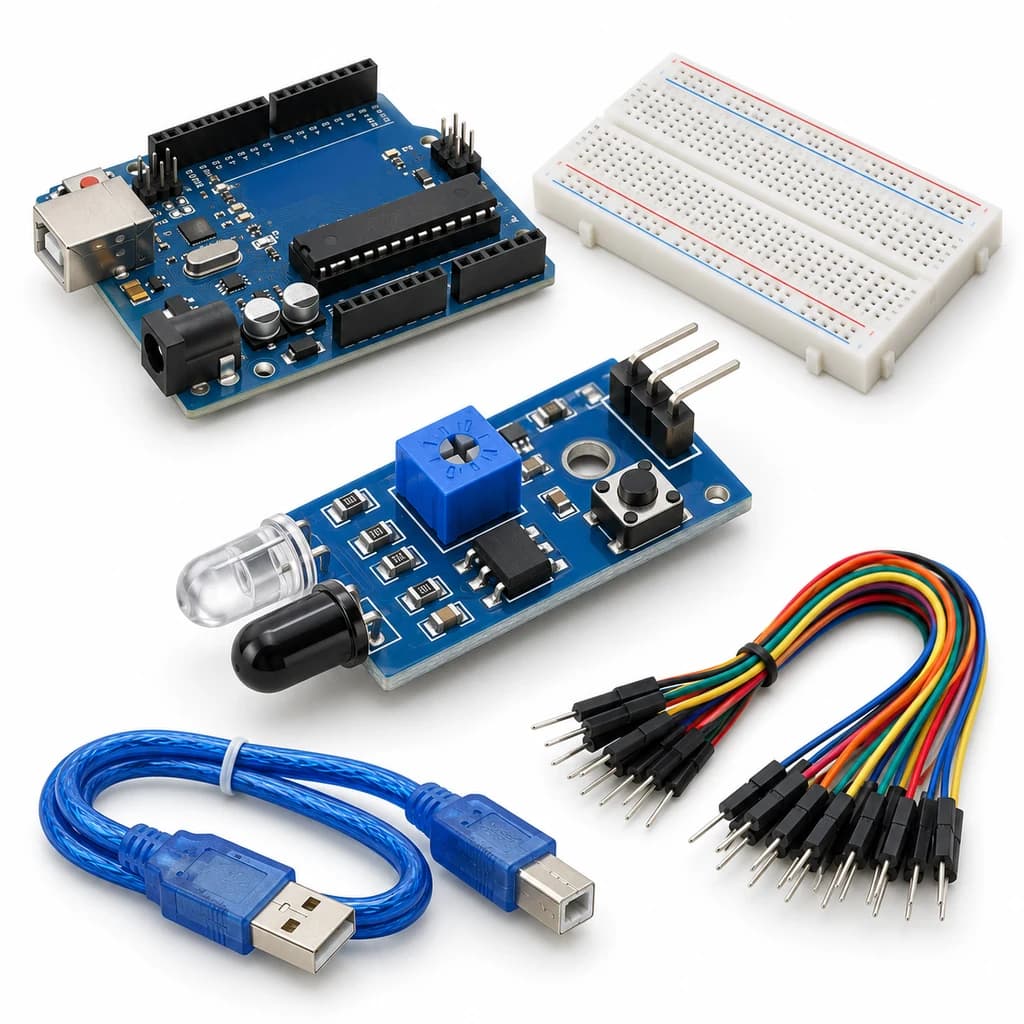 TechyTron
IR Visitor Counter Kit
₹474.00Earn 4 points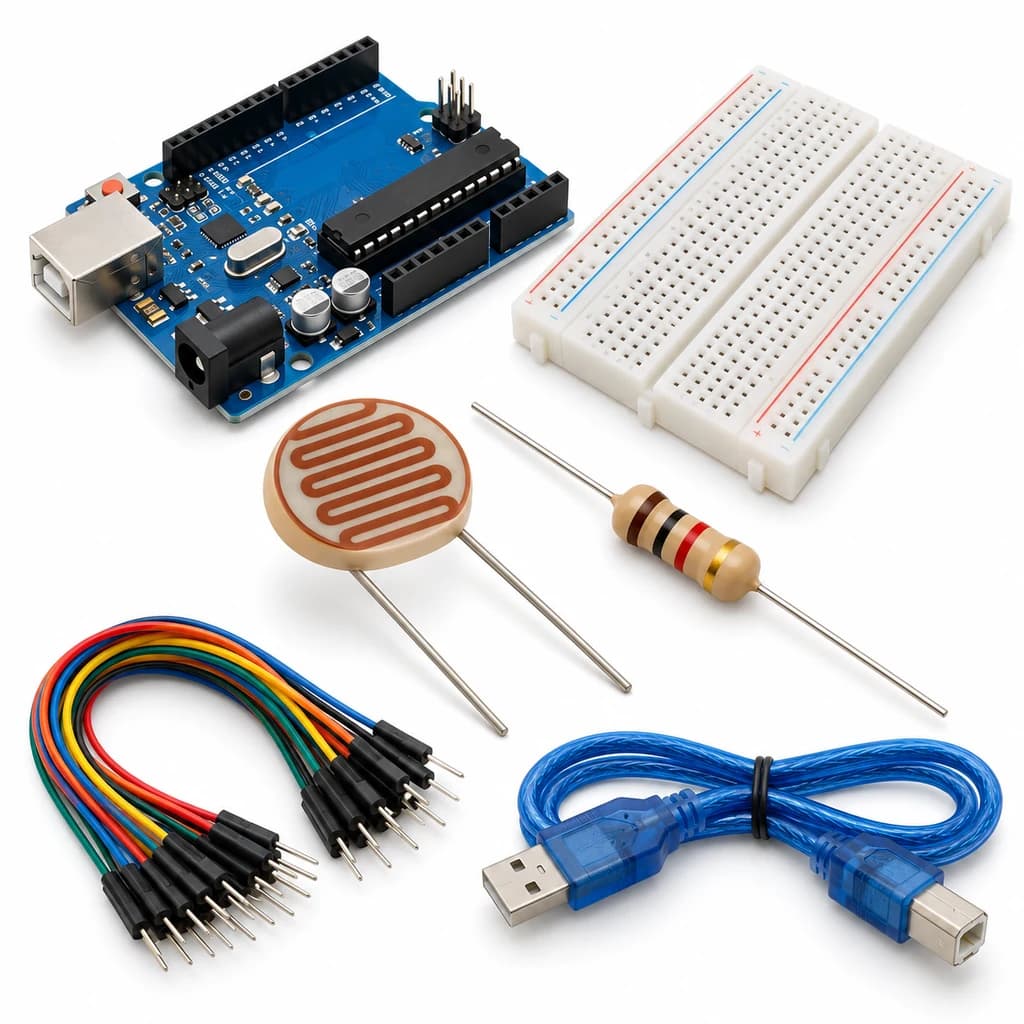 TechyTron
Light Meter Logger Kit
₹438.00Earn 4 points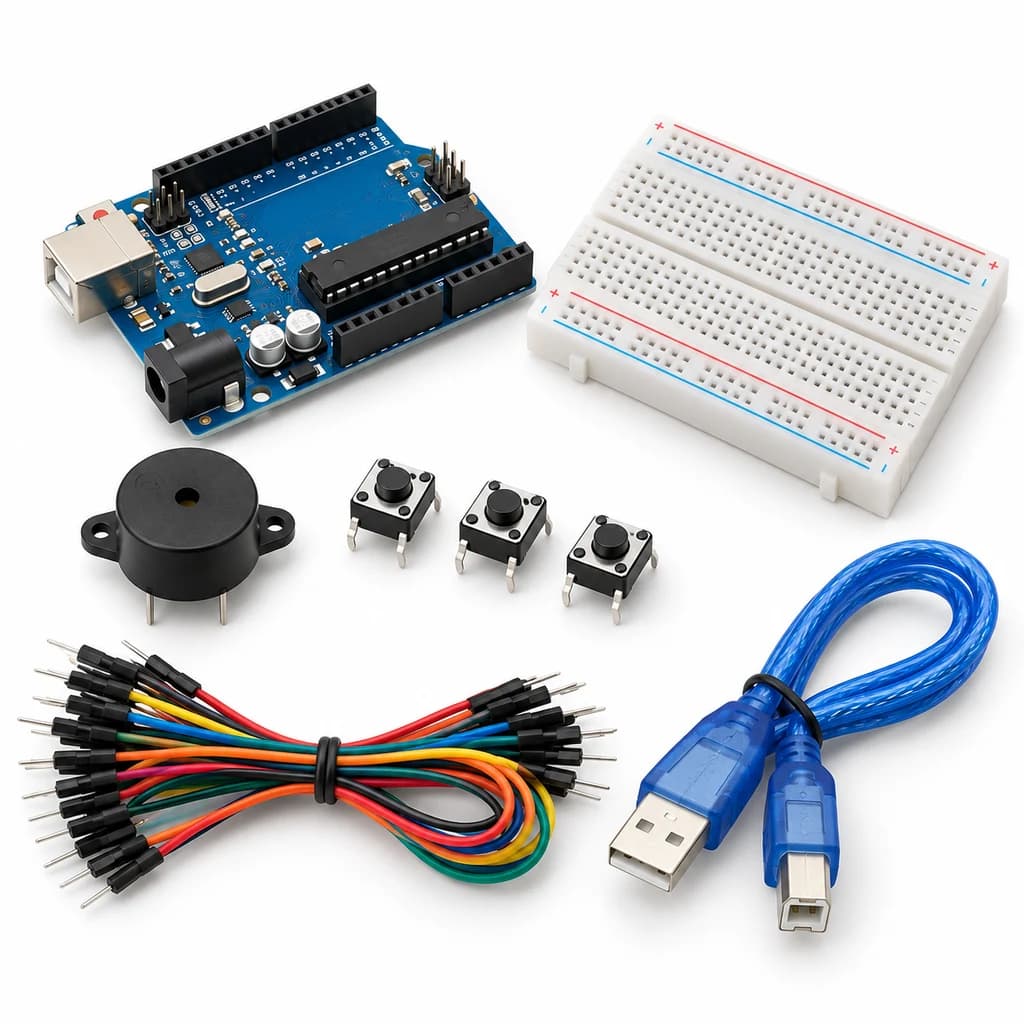 TechyTron
Melody Maker Kit
₹459.00Earn 4 points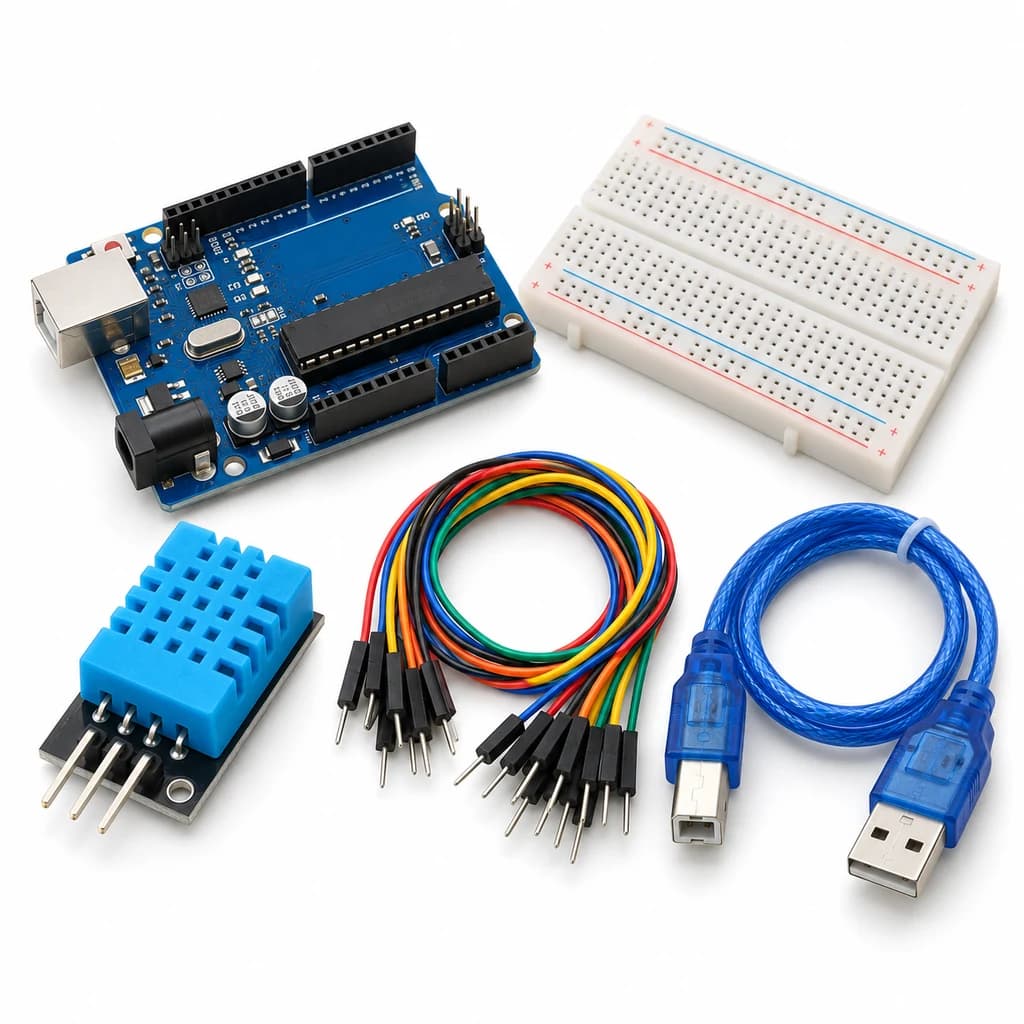 TechyTron
Mini Weather Station Kit
₹509.00Earn 5 points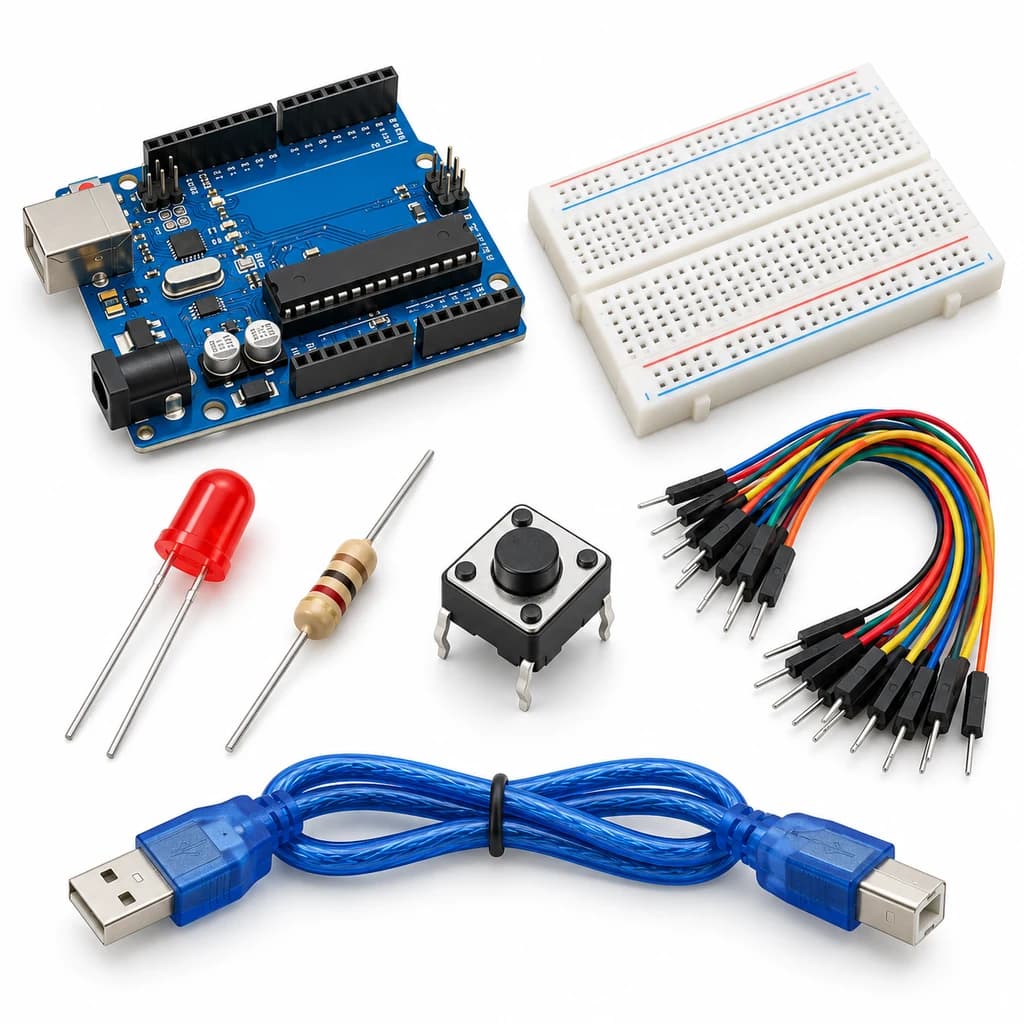 TechyTron
Reaction Time Challenge Kit
₹439.50Earn 4 points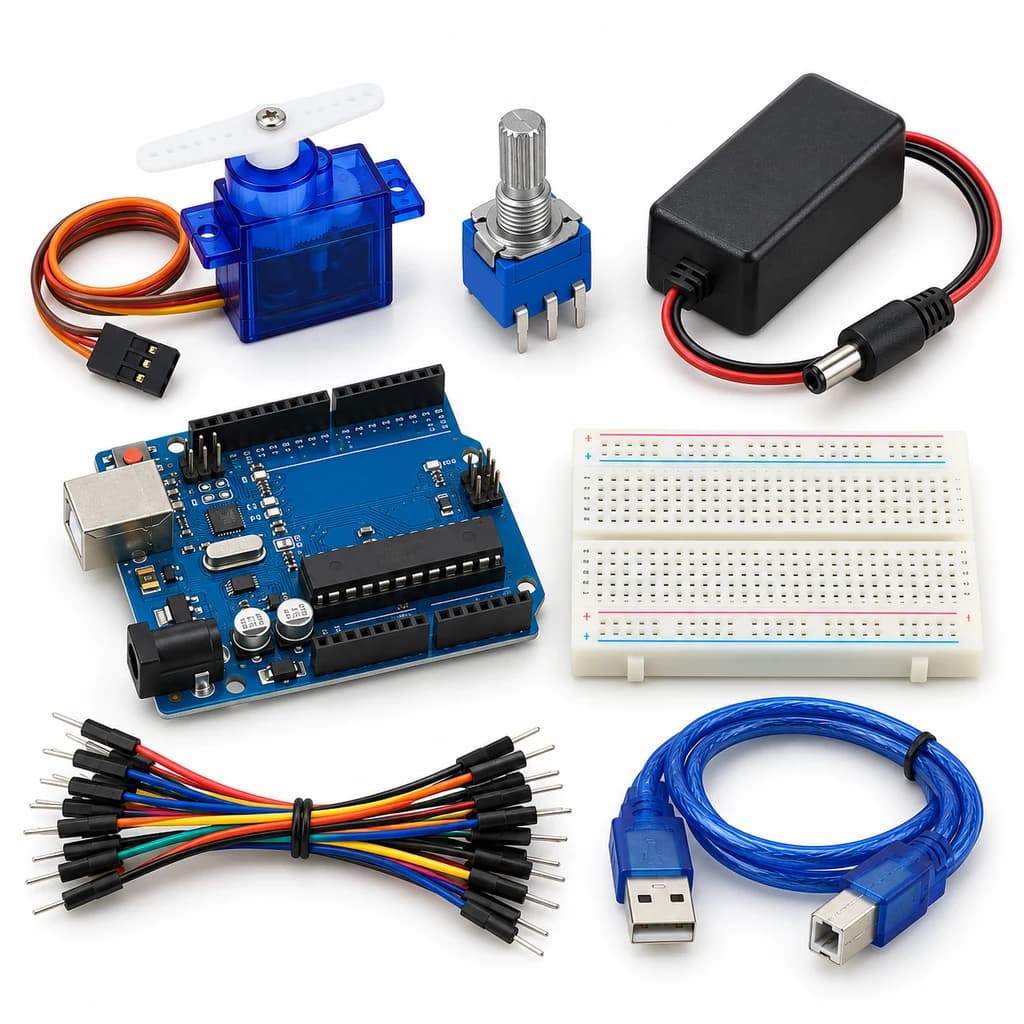 TechyTron
Servo Angle Dial Kit
₹809.50Earn 8 points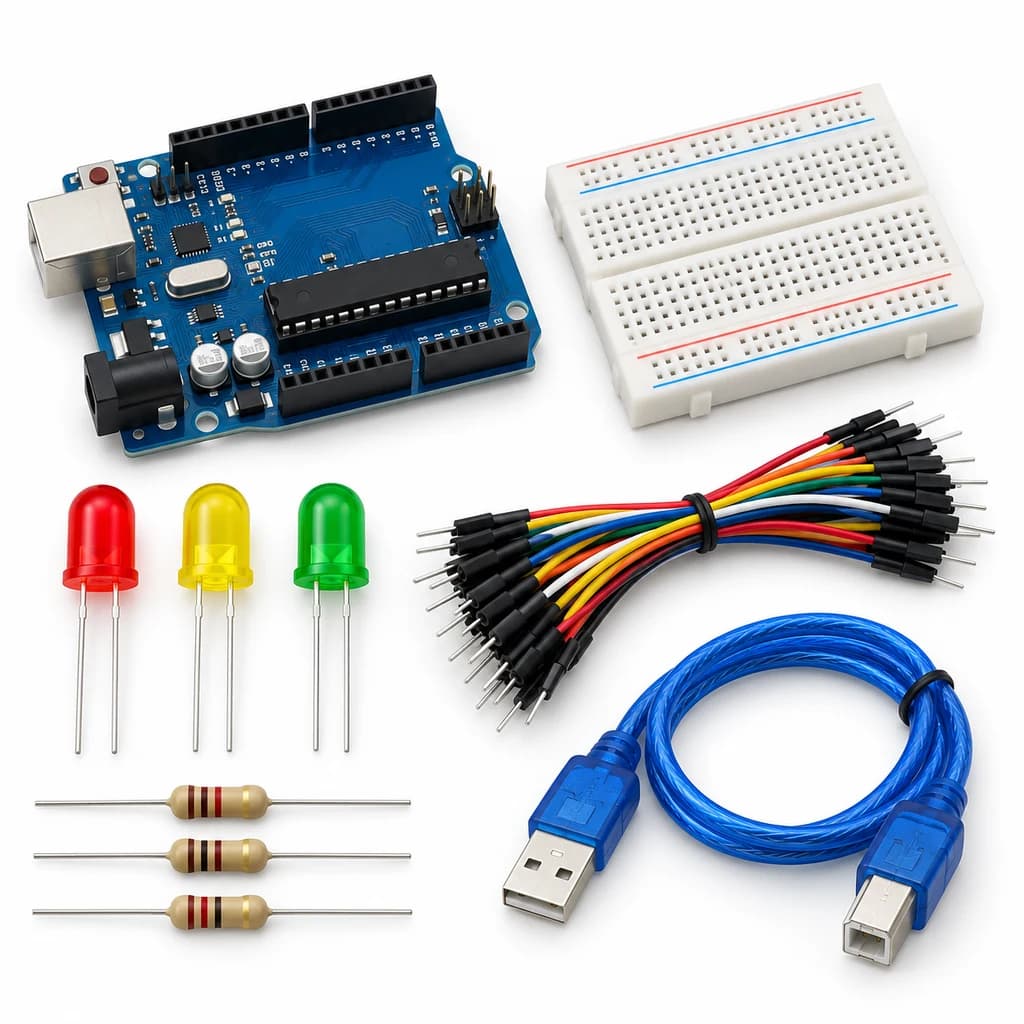 TechyTron
Traffic Signal Coder Kit
₹441.00Earn 4 points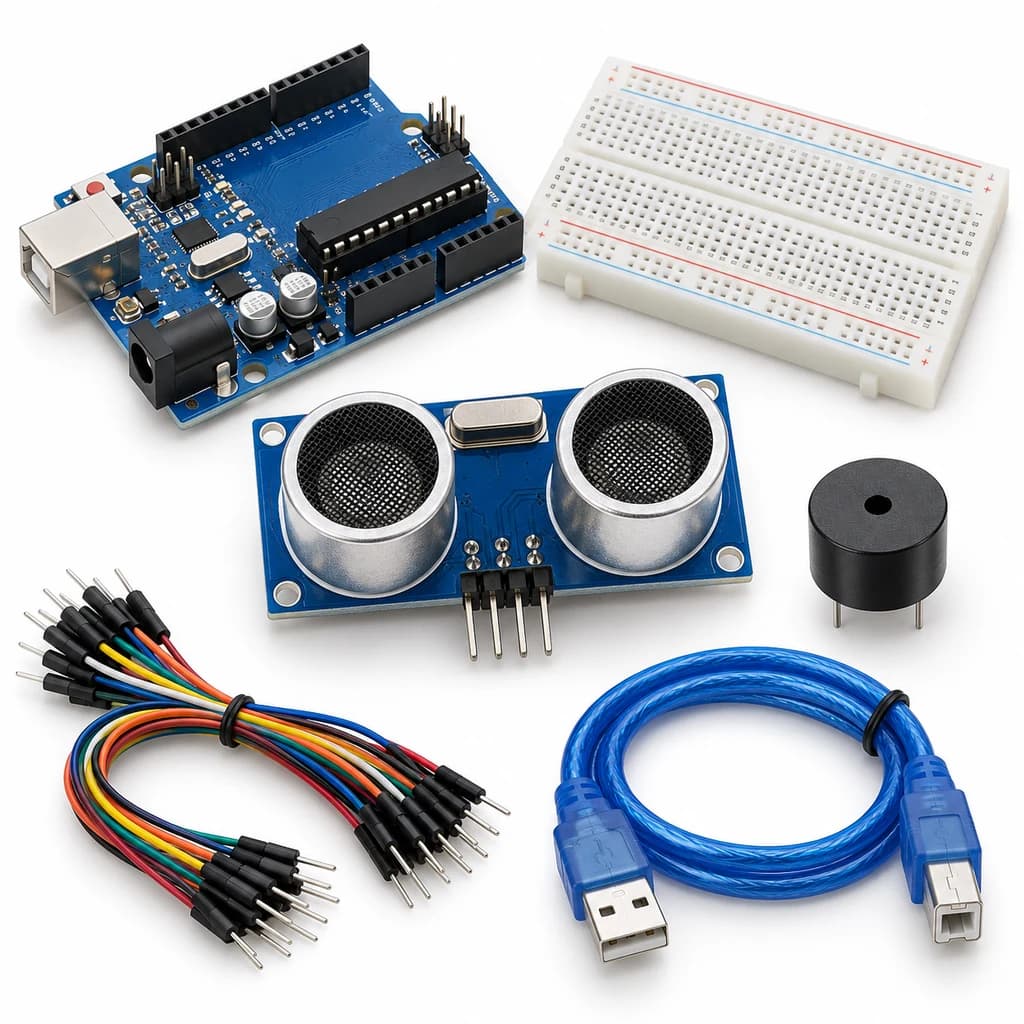 TechyTron
Ultrasonic Parking Guide Kit
₹563.00Earn 5 pointsShop Related by product name
Related by product name
8 catalogue products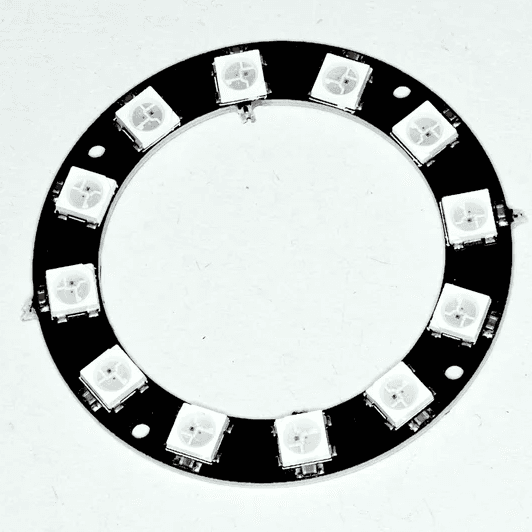 LED Strips & Controllers
12Bit WS2812 5050 RGB LED Built-in Full Color Driving Lights Round
₹69.50 Cables
Female to Female Connecting Wires / Jumper Wires (Set of 10)
₹13.00 Cables
Female to Female Connecting Wires / Jumper Wires (Set of 40)
₹53.00 Cables
Jumper Wire Combo - Male to Male, Male to Female and Female to Female Breadboard Connecting Wires (10 Qty Each)
₹41.50 Cables
MB102 Colored Breadboard 830 Points with Jumper Wires - Male to Male and Male to Female (Set of 80)
₹217.00Earn 2 points Cables
Male to Female Connecting Wires / Jumper Wires (Set of 10)
₹19.00 Cables
Male to Male Connecting Wires / Jumper wires (Set of 10)
₹14.00 Cables